4th of July Strawberries: The Most Festive Party Treat You’ll Make All Summer
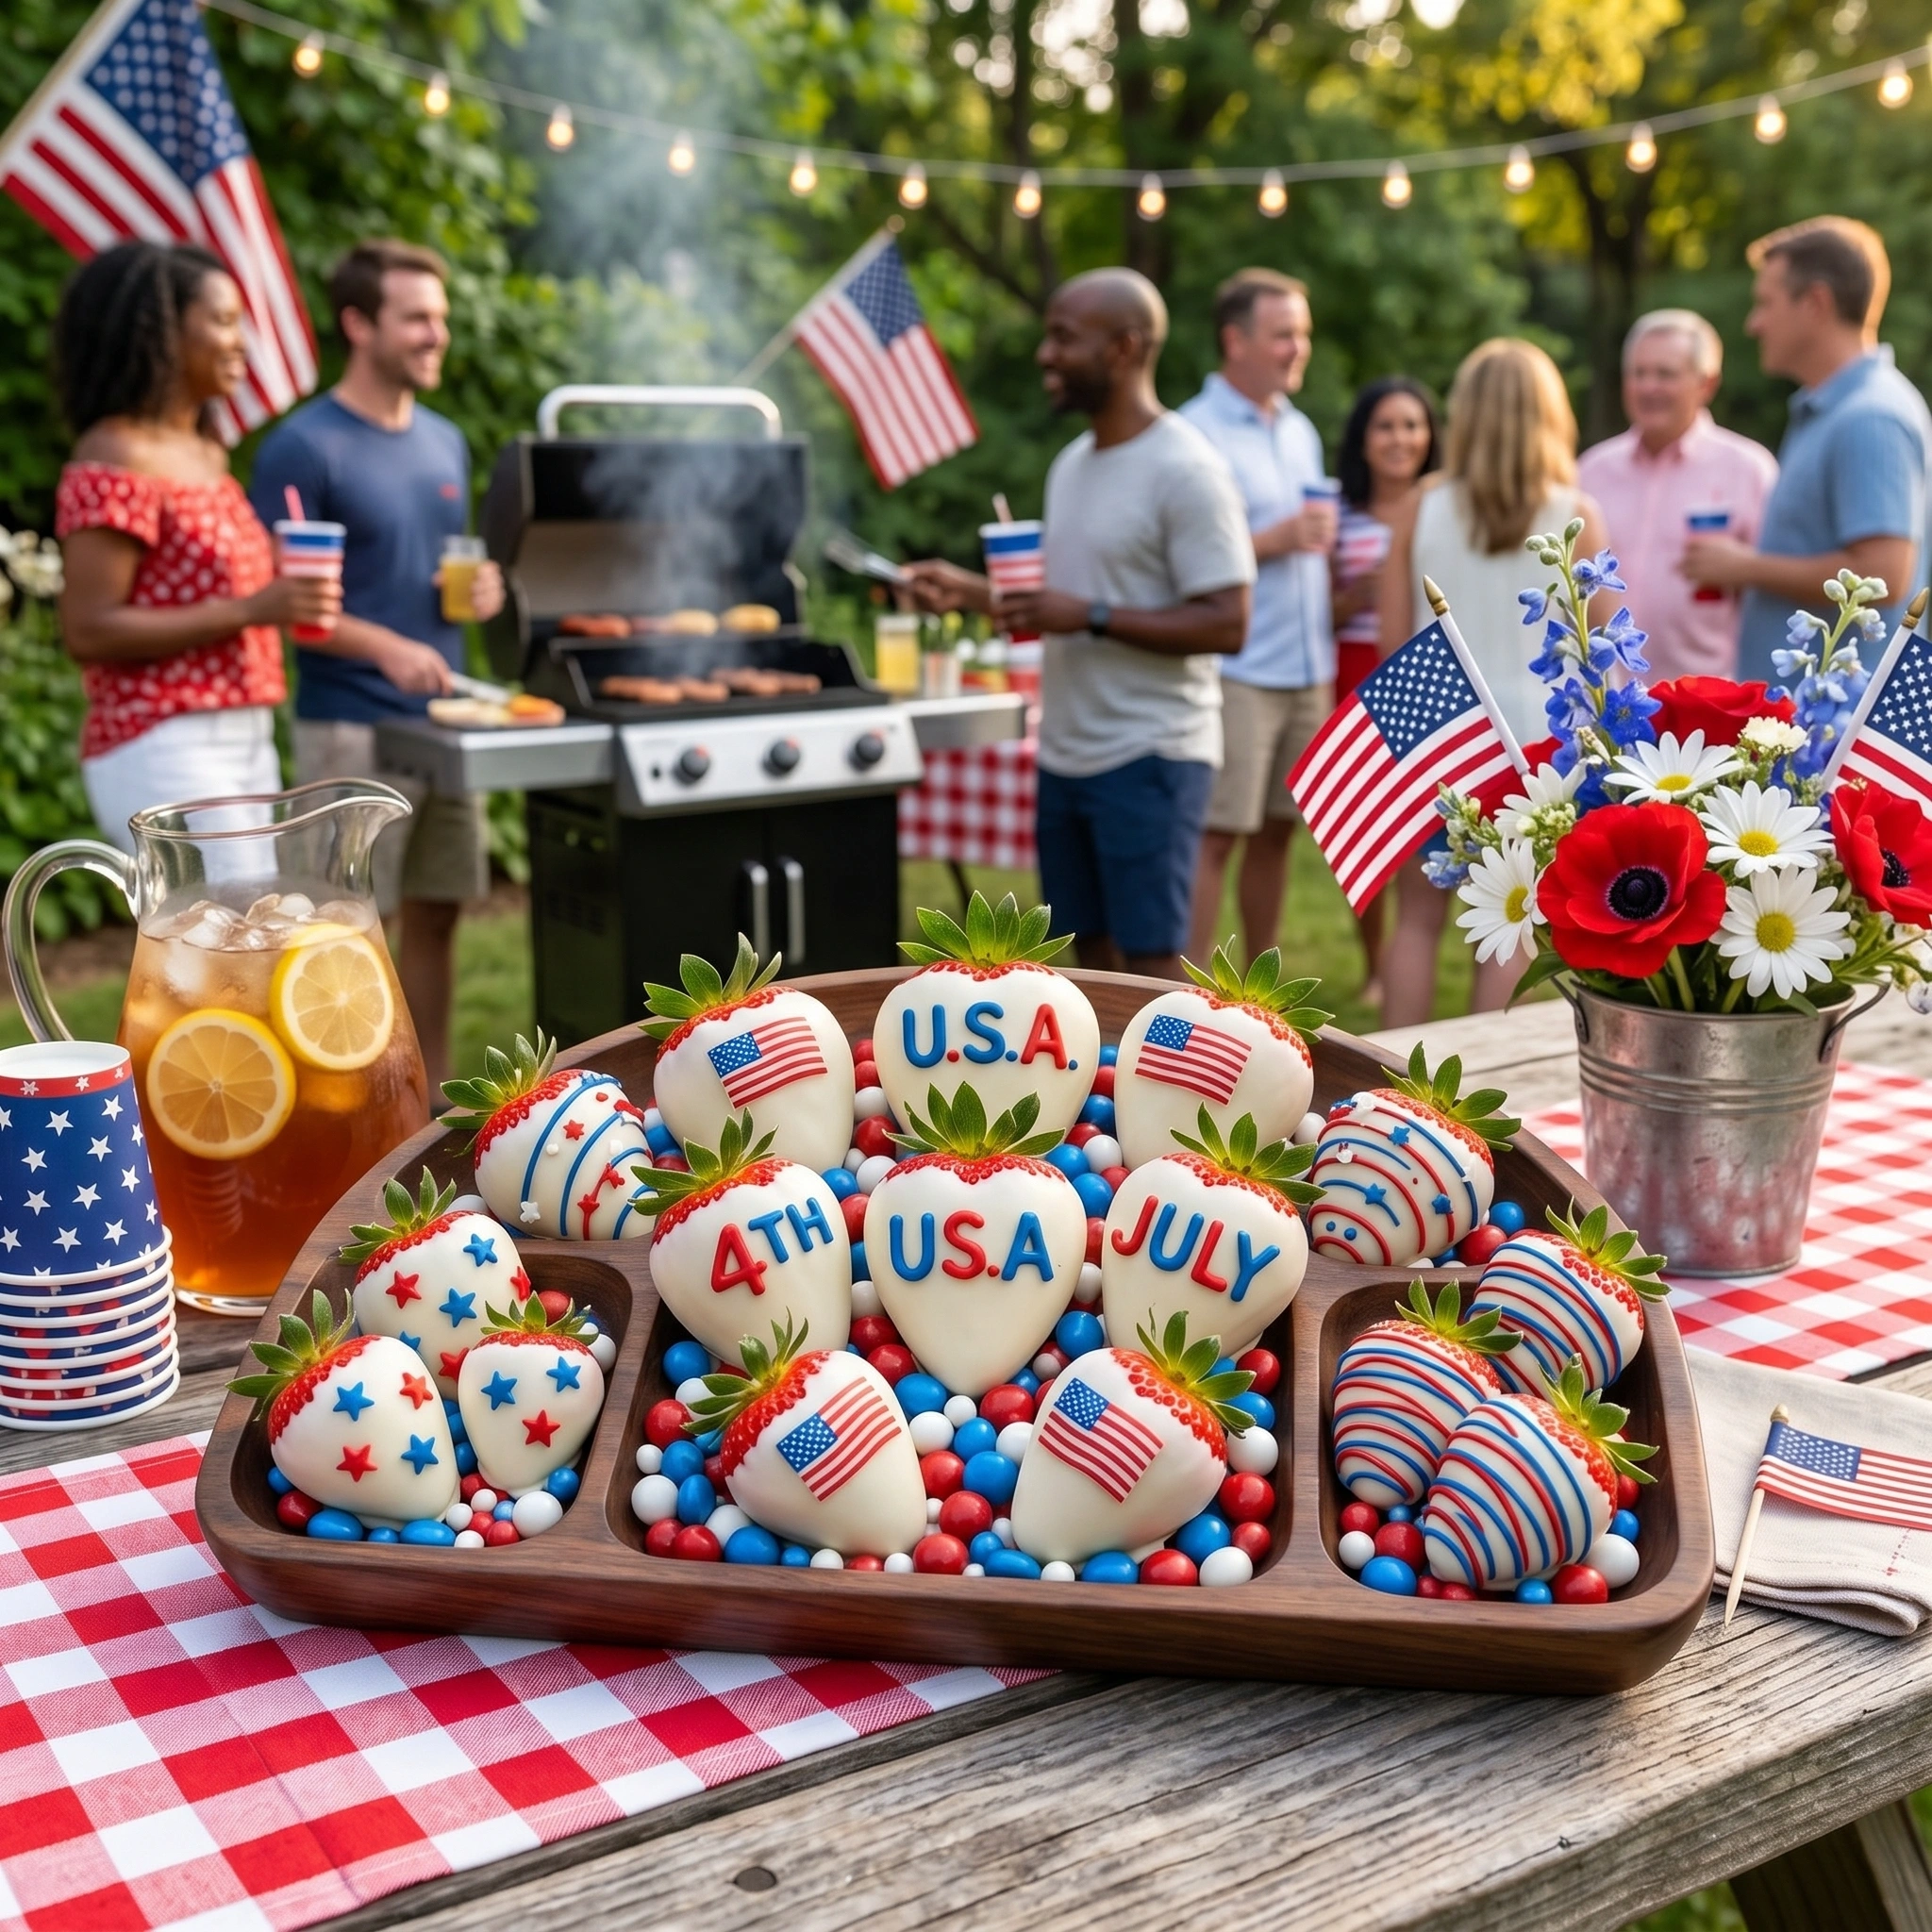
If you’re searching for a dessert that practically throws its own party, 4th of July Strawberries are the answer. These show-stopping, chocolate-dipped berries draped in red, white, and blue are the kind of treat people swarm the dessert table for — and they’re far easier to make than they look. Whether you’re hosting a backyard barbecue, a neighborhood block party, or just making something special for the kids, this recipe delivers every single time.
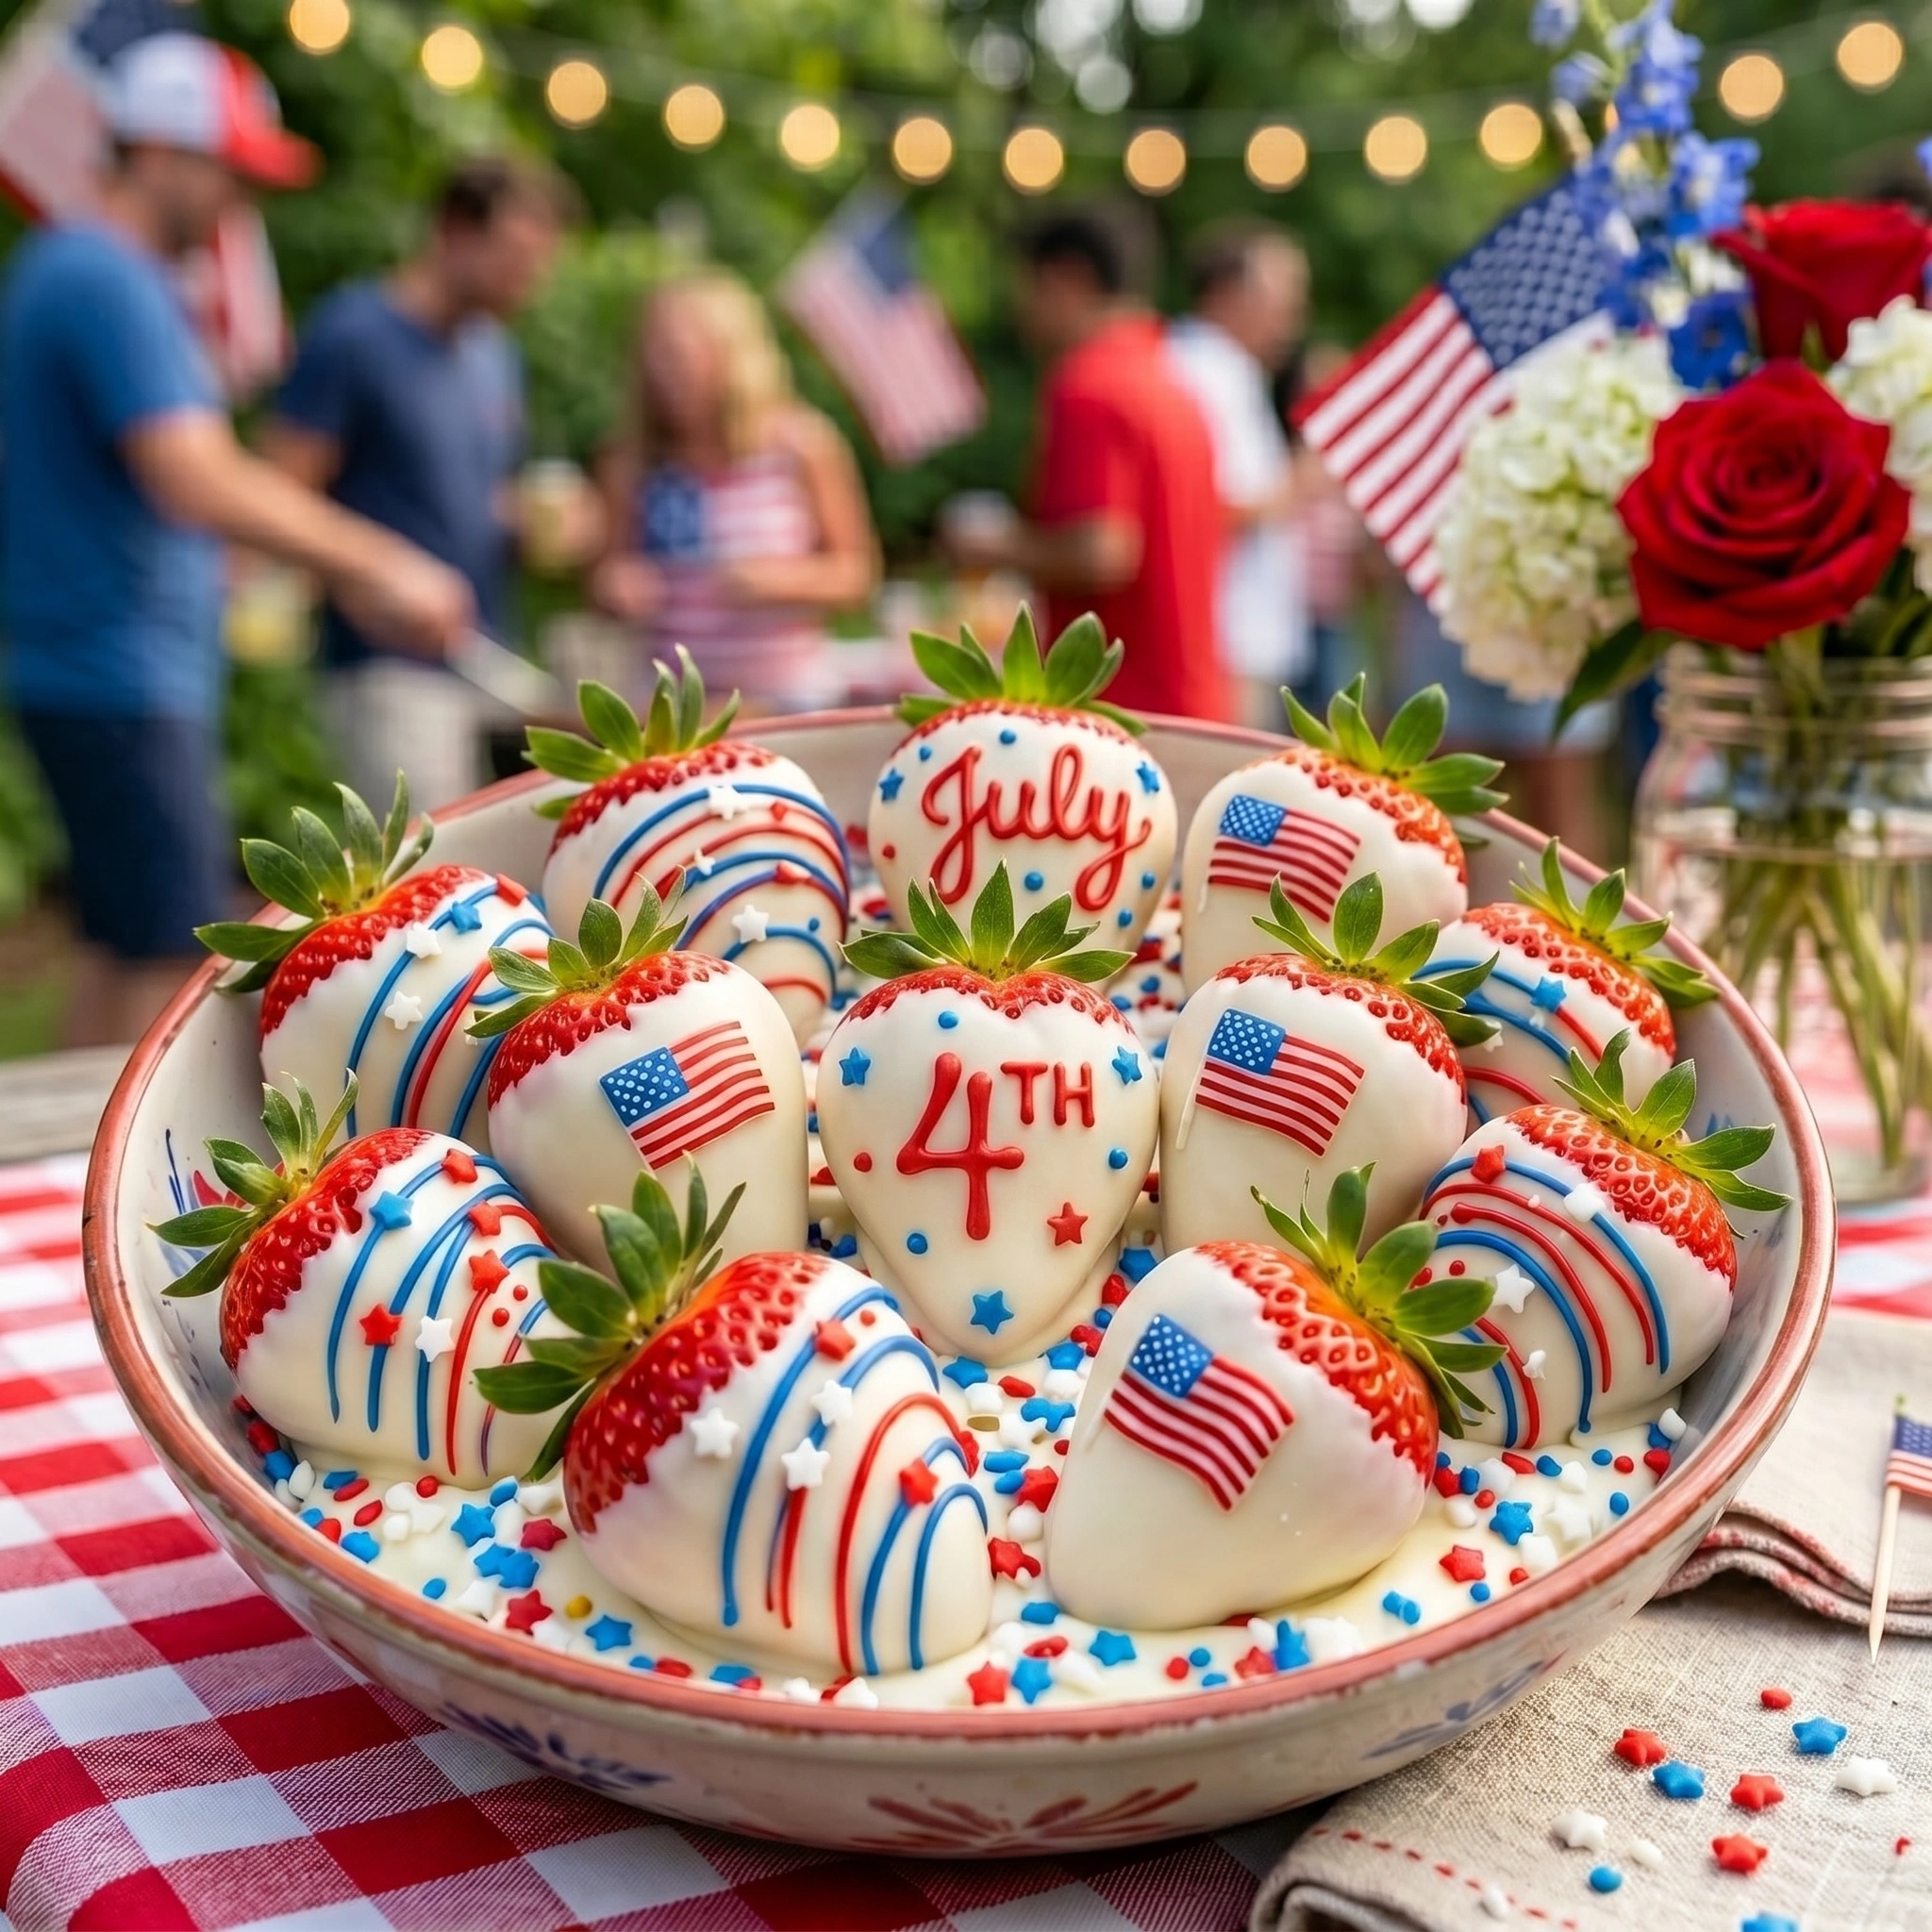
The beauty of 4th of July Strawberries lies in their simplicity. Fresh, ripe strawberries serve as the natural canvas. A quick dip in white chocolate sets the stage, and then — with a little patience and a piping bag — you layer on red and blue decorations that transform each berry into a tiny, edible firework. No baking. No complicated techniques. Just pure, patriotic deliciousness that tastes as good as it looks.
In this complete guide, you’ll find everything you need: the full ingredients list, step-by-step instructions, pro tips for flawless results, common mistakes and how to dodge them, storage guidance, serving ideas, a full FAQ, and approximate nutrition info. By the end, you’ll feel completely confident pulling these off for any Independence Day celebration.
Why 4th of July Strawberries Are the Ultimate Holiday Dessert
There’s a reason these berries appear at nearly every Independence Day gathering across the country. For starters, strawberries are naturally at their peak ripeness in early July — plump, sweet, and intensely red. That built-in color already does half the patriotic work for you before you even reach for the chocolate.
Beyond looks, they’re genuinely crowd-pleasing. They satisfy the sweet tooth without being too heavy after a meal of burgers and potato salad. They’re naturally gluten-free, and with a few tweaks like dairy-free chocolate, they can be made vegan-friendly too. Kids love them. Adults can’t resist them. And the visual impact on a dessert table is dramatic enough that guests almost always reach for their phones before reaching for the berries.
The no-bake factor is huge in summer. You’re not competing with outdoor heat by turning on your oven. The most heat you’ll use is a double boiler or a microwave to melt chocolate. The rest is hands-on fun that you can even involve the kids in — letting little ones add sprinkles while you handle the hot chocolate.
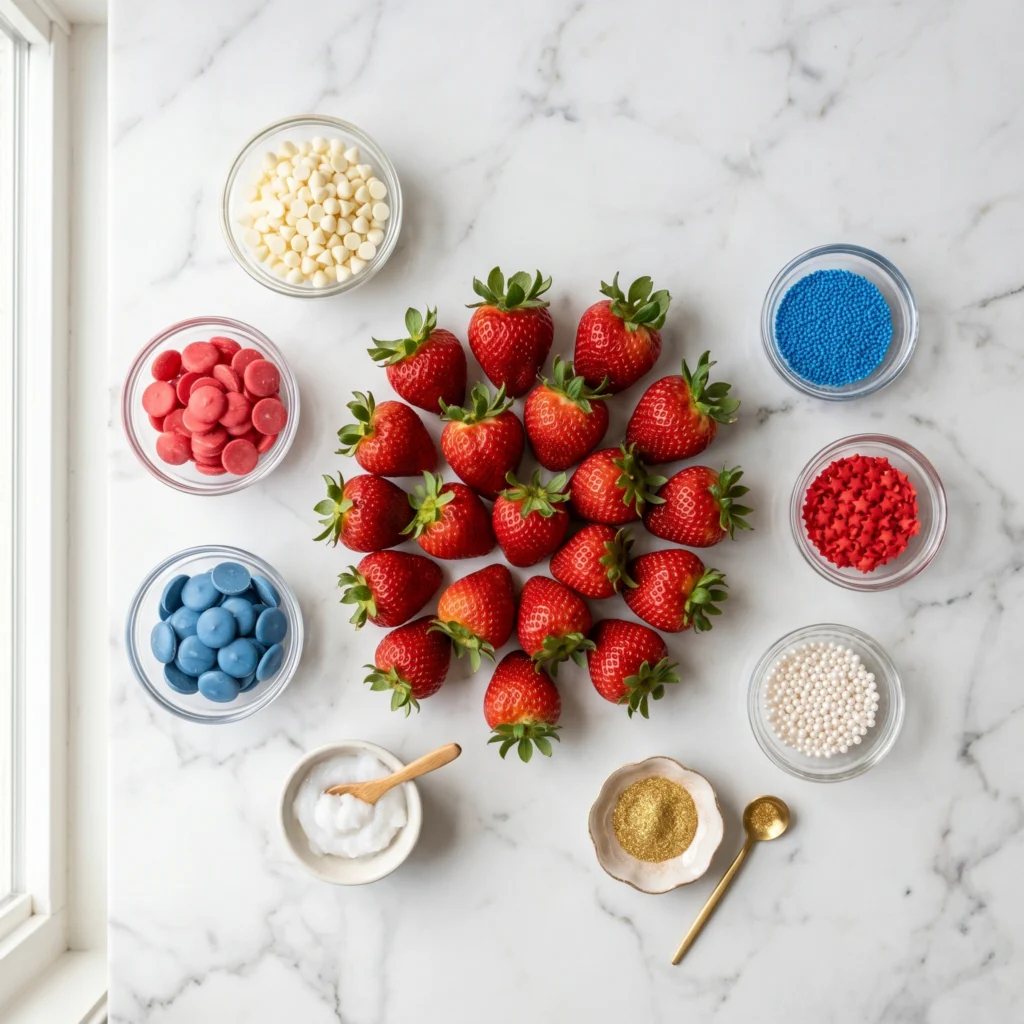
Ingredients
This recipe makes approximately 24 decorated 4th of July Strawberries — enough for a full party platter. Scale up easily by doubling the chocolate quantities.
The Strawberries
- 24 large, firm strawberries (about 1 lb), with leaves intact
- Strawberries should be ripe but very firm — avoid soft or overripe ones
The Chocolates
- 12 oz white chocolate chips or high-quality white chocolate bars
- 4 oz red candy melts
- 4 oz blue candy melts
- 1 tsp coconut oil per 12 oz white chocolate, for a glossy coat
Decoration
- Blue nonpareils or round sprinkles
- Red star-shaped sprinkles
- White pearl sprinkles (optional)
- Gold or silver edible glitter (optional, for extra sparkle)
Tools Needed
- Parchment paper, 2 large sheets
- Piping bags or zip-lock bags
- Toothpicks or dipping forks
- 3 microwave-safe bowls
- 2 baking sheets
Ingredient Notes and Substitutions
White chocolate is the base coat for most 4th of July Strawberries because it provides the neutral white canvas that shows off the red and blue decorations best. If you prefer a less sweet coating, you can use vanilla-flavored almond bark instead — it melts smoothly and sets firmly. For the red and blue, candy melts are the easiest route because they’re pre-colored and formulated to melt and set beautifully without tempering. However, you can also use white chocolate tinted with oil-based food coloring — never water-based, as it will seize the chocolate.
Coconut oil is the secret to a glossy, smooth chocolate coating. Even a small amount loosens the melted chocolate just enough to create a thin, even dip that sets with a professional sheen. Vegetable shortening works as a substitute if you’re avoiding coconut.
Step-by-Step Instructions
Follow these steps carefully and your 4th of July Strawberries will come out looking bakery-worthy. Read all the steps before you begin — it helps to understand the full flow.
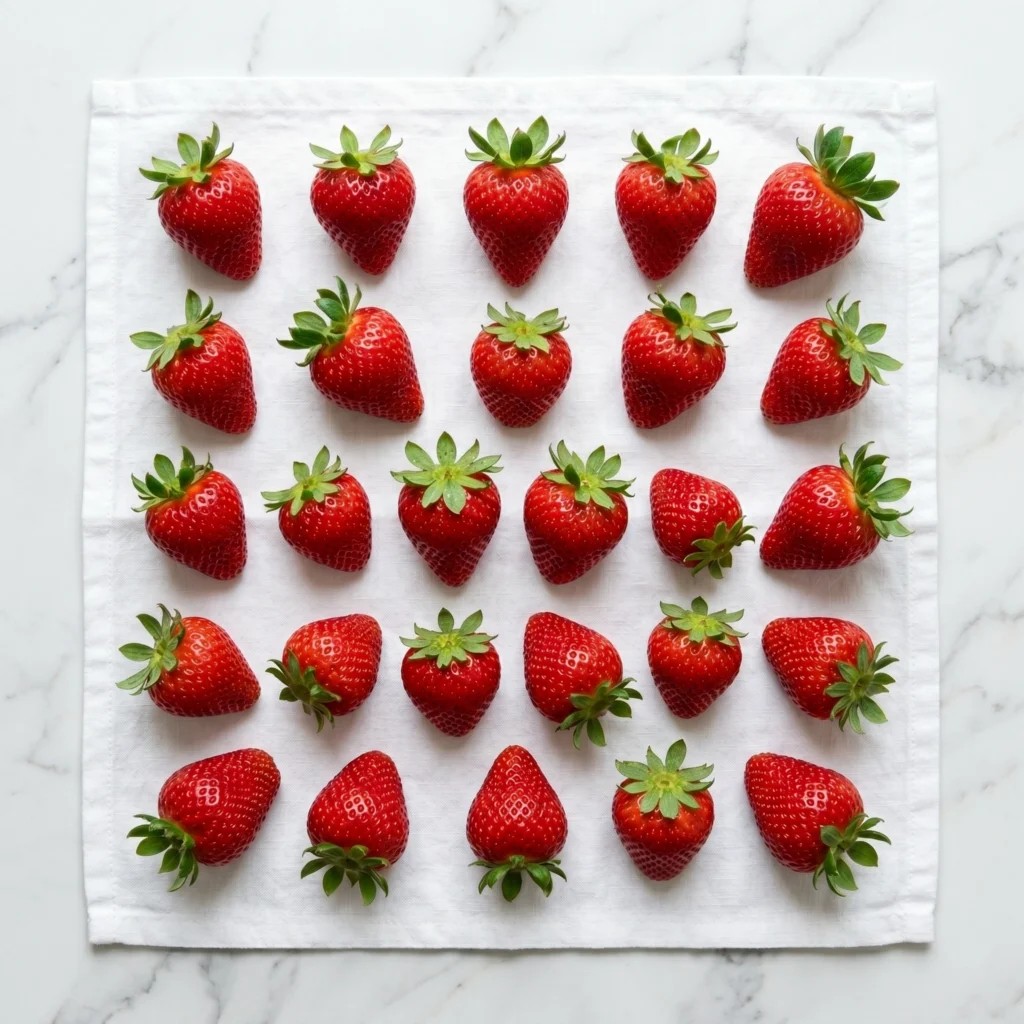
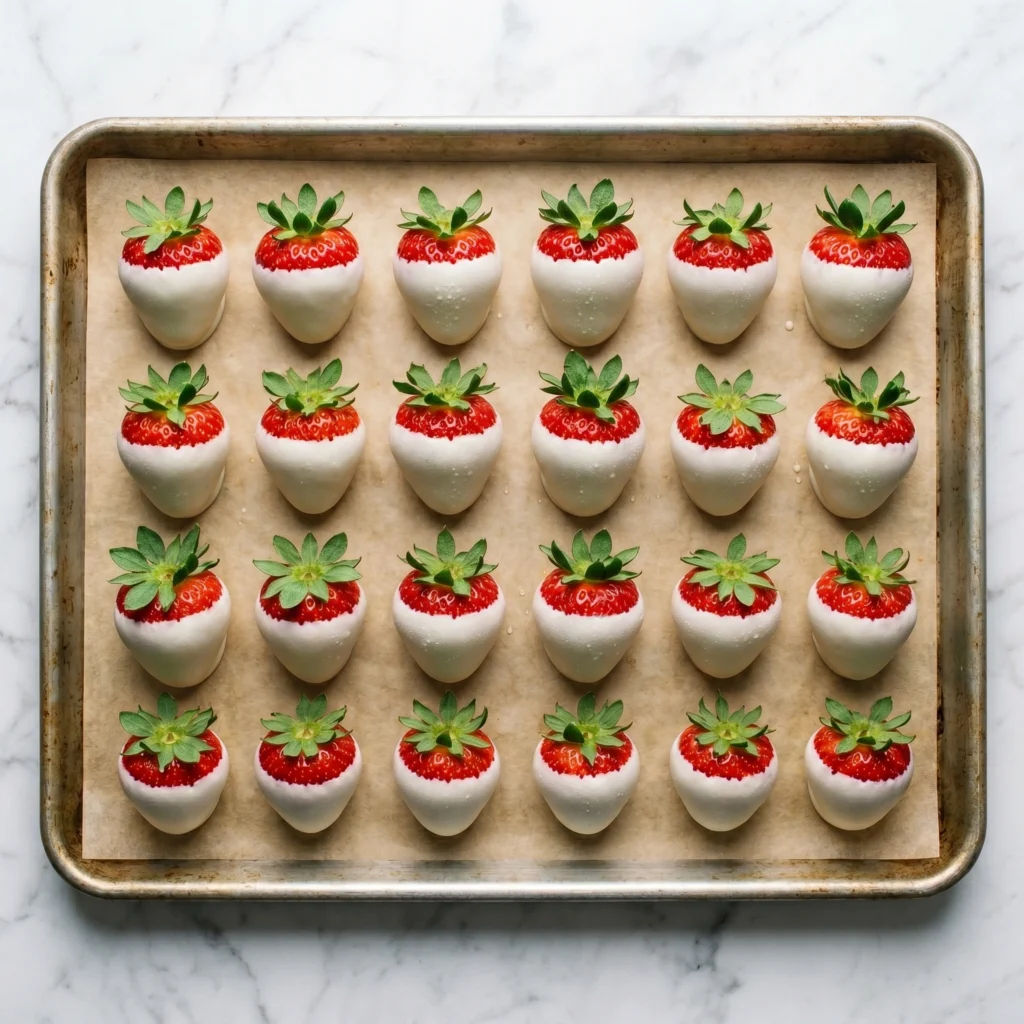
Step 1 — Wash and thoroughly dry the strawberries. Rinse your strawberries under cool water and then — this is critical — lay them on a clean kitchen towel and pat them completely dry. Leave them out for at least 30 minutes to air-dry further. Even a drop of water on the berry’s surface will cause the chocolate to seize, streak, or slide off. This single step is the most important one in the whole process. Do not rush it.
Step 2 — Prepare your workspace. Line two large baking sheets with parchment paper and set them near your dipping station. Set up your piping bags or cut the corners off zip-lock bags. Lay out your sprinkles in small bowls so everything is within arm’s reach. You’ll be working quickly once the chocolate is melted, so organization matters.
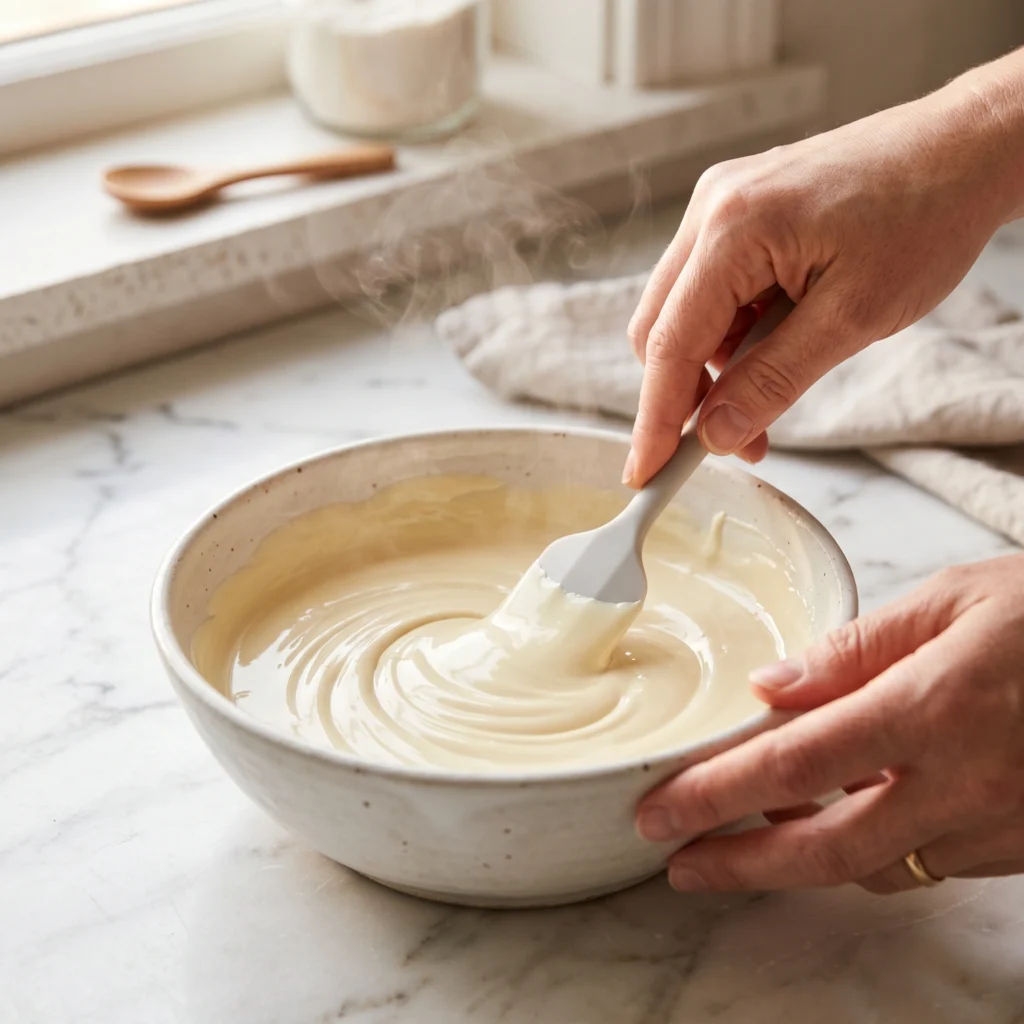
Step 3 — Melt the white chocolate. Place white chocolate chips and coconut oil in a microwave-safe bowl. Microwave in 20-second bursts, stirring well between each interval, until completely smooth. Alternatively, use a double boiler over barely simmering water, stirring constantly. Do not let the chocolate overheat — it should be fluid and glossy, not grainy or clumpy.
Step 4 — Dip each strawberry in white chocolate. Hold each strawberry by the green leaves and dip it into the melted white chocolate, swirling gently to coat about three-quarters of the berry. Lift it out and let excess chocolate drip off by gently shaking the berry, then lay it on the parchment-lined baking sheet. Work quickly and decisively — the chocolate sets fast.
Step 5 — Let the first coat set. Place the dipped strawberries in the refrigerator for 10 to 15 minutes until the white chocolate is completely firm. This is your base coat. A fully set base gives you a clean surface to add your patriotic decorations and ensures the colors won’t bleed into each other.
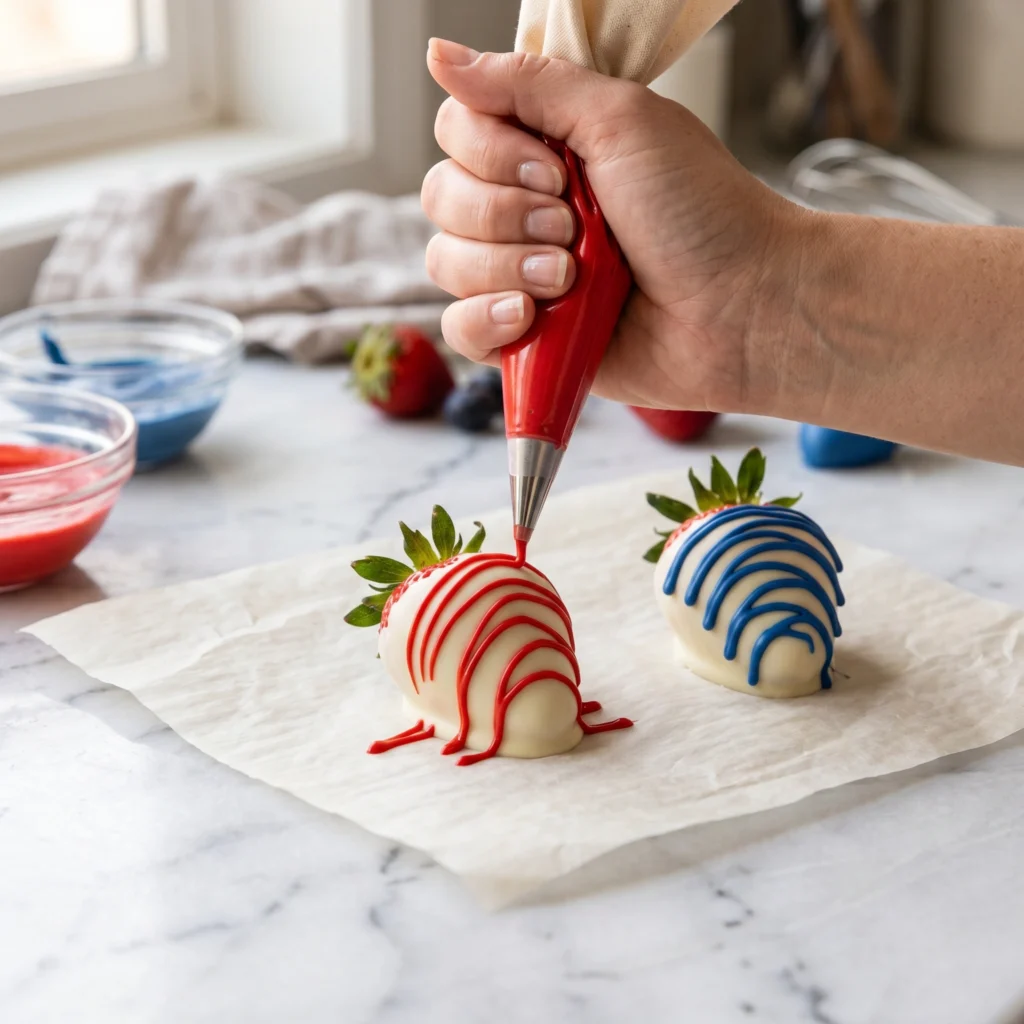
Step 6 — Melt the red and blue candy melts separately. Melt each color in its own microwave-safe bowl using the same 20-second burst method, stirring until smooth. Transfer each melted color to a separate piping bag or zip-lock bag and cut a very small tip off the end — a tiny opening gives you much more control for decorating.
Step 7 — Decorate with red and blue stripes or drizzles. Working on the chilled white-chocolate-covered strawberries, drizzle the red candy melt across the lower third of the berry in zigzag lines. Then drizzle the blue across the upper third. You can also fully dip the tip of the berry into blue to create a bold flag look. Another beautiful approach: dip just the top inch in blue, then drizzle red across the white middle section.
Step 8 — Add sprinkles before the chocolate sets. While the red and blue drizzles are still wet, immediately scatter blue nonpareils, red stars, and white pearls over the top. The sprinkles must go on before the candy melt firms up — once it sets, nothing will stick. Work on 3 to 4 berries at a time to keep the pace manageable.
Step 9 — Final chill and serve. Return the fully decorated berries to the refrigerator for another 15 to 20 minutes until everything is completely set. Once firm, arrange on a serving platter or tiered stand. If serving outdoors, keep them on ice or in a cooler until the last moment. These are best served within 12 to 24 hours of making them.
Pro Tips for Perfect 4th of July Strawberries
These tricks come straight from professional chocolatiers and experienced dessert bloggers who’ve dipped hundreds of berries. Apply even just two or three of these and the results will be noticeably better.
Choose the Right Berry
Select large, firm, uniformly shaped berries. Soft or overripe ones will release moisture under the chocolate and cause sliding. Bigger berries also give you more surface to decorate.
Room Temperature Is Key
Pull your strawberries from the fridge an hour before dipping. Cold berries cause the chocolate to set too fast and crack. Room-temp berries give you a smooth, even coat every time.
The Coconut Oil Secret
Always add a teaspoon of coconut oil to your white chocolate. It creates a thinner, glossier coating that flows evenly around the berry and sets with a professional sheen — not a dull, thick shell.
Use Candy Melts for Color
Candy melts are already colored and don’t require tempering. They melt predictably and set firmly — perfect for the red and blue decorations on your 4th of July Strawberries.
Make Ahead Strategically
Dip the berries the evening before and refrigerate overnight. Add sprinkles and final decorations the morning of the party for the crispest look with the least last-minute stress.
Keep Chocolate Warm Longer
If your melted chocolate starts to thicken mid-dip, microwave it for 10 seconds and stir. A small heating pad under your chocolate bowl also works brilliantly to maintain ideal dipping temperature.
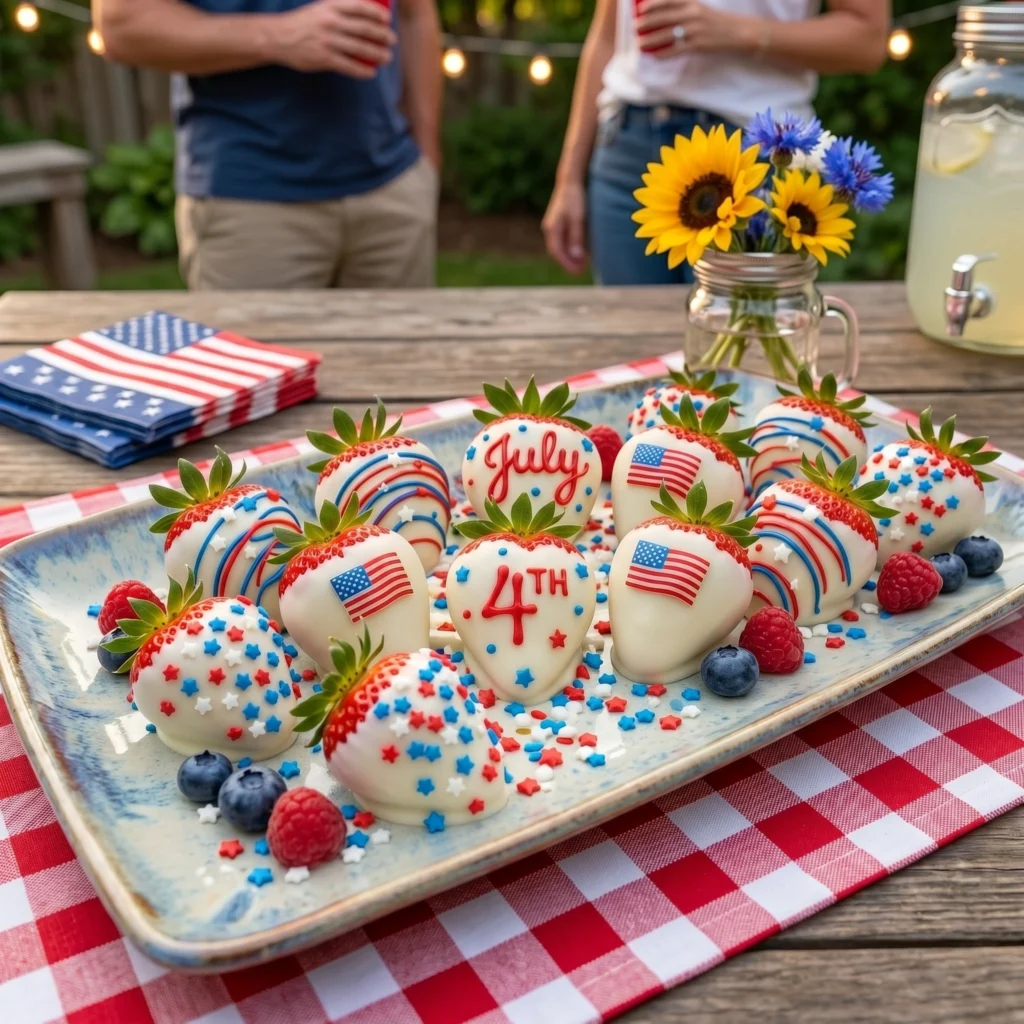
Styling and Presentation Tips
How you present your 4th of July Strawberries matters as much as how you make them. Arrange them on a white ceramic platter for maximum visual contrast. A tiered dessert stand makes them look even more impressive and creates height on your table. Tuck small American flag toothpicks into each berry or line the platter with blue and white star-print tissue paper. For outdoor parties, keep them on a tray set over a bed of crushed ice so they stay firm and fresh in the summer heat.
Common Mistakes to Avoid
Even experienced bakers make these errors the first time around. Here’s how to sidestep every one of them so your 4th of July Strawberries come out perfect on the first try.
Dipping Wet Strawberries
Water is chocolate’s enemy. Even a barely damp berry will cause the chocolate to seize into a grainy mess or slip right off. Always dry berries completely — and then wait another 30 minutes just to be safe.
Overheating the Chocolate
White chocolate burns easily and becomes grainy or lumpy when overheated. Always use 20-second microwave intervals and stop when there are still a few small unmelted pieces — the residual heat will finish them as you stir.
Using Cold Strawberries Straight from the Fridge
Cold berries make the chocolate set in seconds — before you can even get a smooth coat. Always bring them to room temperature for at least 45 to 60 minutes before dipping.
Adding Sprinkles After the Chocolate Sets
This is the most common disappointment. Sprinkles only adhere to wet chocolate. Once the coating hardens, anything you add just slides off onto the plate. Always decorate while the candy coat is still tacky.
Making Them Too Far in Advance
Strawberries are fresh fruit — they continue releasing moisture even after being dipped. Made more than 24 hours ahead, the chocolate can become damp and lose its crispness. The sweet spot is 12 to 18 hours before serving.
Using Water-Based Food Coloring
If you’re coloring white chocolate yourself instead of using candy melts, always use oil-based food coloring. Water-based dyes will instantly cause the chocolate to seize and become unusable. Oil-based coloring blends smoothly every time.
Storage and Serving Suggestions
How to Store 4th of July Strawberries
Store your finished 4th of July Strawberries in a single layer in an airtight container lined with parchment paper. Do not stack them — the decorations will stick together and you’ll lose all that beautiful detail. Keep them in the coldest part of your refrigerator, not the door. Before serving, pull them out 15 to 20 minutes early so the chocolate softens slightly from its firm, chilled state to a more pleasant bite.
Avoid covering them tightly with plastic wrap directly against the chocolate surface — condensation forms and makes the coating look dull or spotty. A lidded container with a little breathing room is better.
Storage Timeline
- Best served within 24 hours of making for peak freshness
- Refrigerator life: up to 48 hours in an airtight container
- Room temperature safe: up to 2 hours, then refrigerate
- Freezer: not recommended, as texture suffers significantly
Serving Ideas
Serve your 4th of July Strawberries as a standalone dessert on a large white or navy blue platter, arranged in rows for a flag-like effect. They also pair beautifully alongside a sparkling white sangria punch, patriotic cupcakes, or red-white-blue fruit skewers for a full dessert spread. For a party favor idea, tuck two or three berries into a small cellophane bag tied with red, white, and blue ribbon. Guests absolutely love taking them home.
Frequently Asked Questions
Can I make 4th of July Strawberries the night before?
Yes — in fact, making them the evening before is often ideal. Dip the berries and refrigerate overnight. Add your final sprinkle decorations the morning of the party for the freshest look. Just make sure they’re stored in a single layer in an airtight container. They’ll be at their best within the first 18 to 24 hours.
What’s the best chocolate to use for dipping strawberries?
For the white base coat, high-quality white chocolate chips or bars like Ghirardelli or Guittard melt smoothly and taste exceptional. For the red and blue decorations, candy melts like Wilton or Merckens are the easiest option because they’re pre-colored and melt predictably. If you want richer flavor throughout, use colored white chocolate tinted with oil-based food coloring — but be patient, as the process is more involved.
Why is my chocolate coating falling off the strawberries?
This almost always comes down to moisture. Either the strawberries weren’t dried thoroughly before dipping, or they were too cold and the temperature shock caused the chocolate to crack and slide. Make sure berries are completely dry and at room temperature before dipping. Also check that your chocolate has a small amount of coconut oil mixed in for better adhesion and flexibility.
Can I freeze 4th of July Strawberries?
Freezing is not recommended. When frozen strawberries thaw, they release a lot of water, which destroys the chocolate coating and makes the berries mushy and unappetizing. These are best made fresh. If you need to plan far ahead, freeze the plain strawberries and dip them after thawing — though fresh berries will always give the best results.
How do I make these dairy-free or vegan?
Swap the white chocolate for a dairy-free white chocolate like Pascha or Enjoy Life. Use vegan candy melts for the red and blue colors — check labels, as most standard candy melts contain dairy. Replace coconut oil with another neutral plant-based fat if needed, though coconut oil is already vegan. With these substitutions, your 4th of July Strawberries become fully plant-based.
What if I don’t have piping bags?
Zip-lock sandwich bags work perfectly as a substitute. Pour the melted candy melt into the bag, seal it, and snip a very small corner off the tip. This gives you excellent control for drizzling. A spoon can also work for a more rustic, dripped look — just hold the berry over the bowl and drizzle with quick wrist movements.
How many strawberries should I make per person?
Plan on 3 to 4 berries per person if these are one of several desserts at the party. If they’re the primary dessert, budget 5 to 6 per person. Honestly, people always eat more than expected — when something looks this good, willpower goes out the window. It’s always better to make a few extra than to run short.
Approximate Nutrition Information
Per serving of 2 decorated strawberries. Values are estimates and will vary based on chocolate brand, berry size, and amount of decoration used.
- Calories: 145 kcal
- Total Fat: 7.5 g
- Saturated Fat: 4.5 g
- Cholesterol: 5 mg
- Sodium: 22 mg
- Total Carbohydrates: 19 g
- Dietary Fiber: 0.8 g
- Total Sugars: 17 g
- Protein: 1.5 g
- Vitamin C: 28 mg (31% DV)
- Calcium: 42 mg (3% DV)
Percent Daily Values are based on a 2,000 calorie diet.
Conclusion
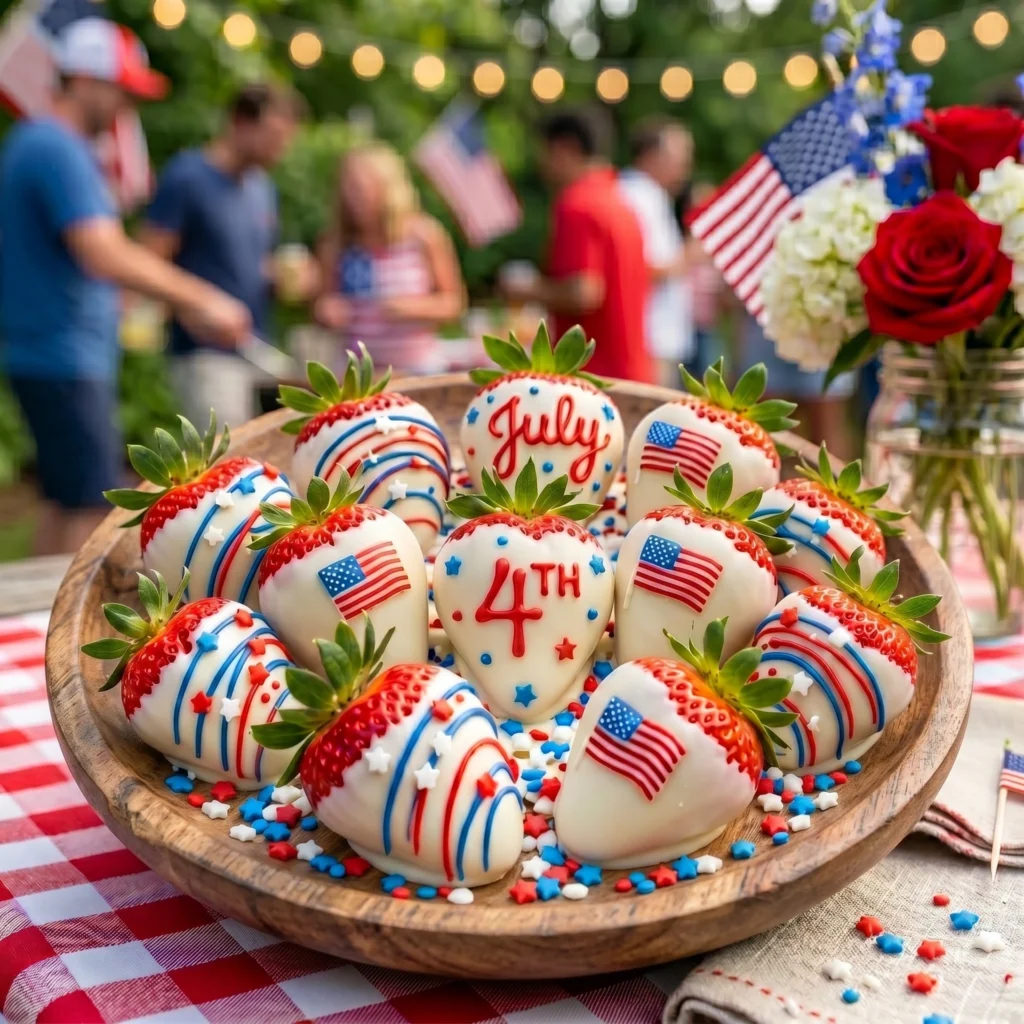
There’s something genuinely magical about setting a platter of 4th of July Strawberries on a party table and watching people’s faces light up. They’re beautiful before they’re eaten and delicious after — a combination that’s harder to achieve than it sounds. The fact that they require no baking, come together in under an hour, and work for virtually every guest makes them one of those rare recipes you’ll return to year after year.
Whether you’re a first-time dessert dipper or someone who’s made hundreds of chocolate-covered treats, this guide has everything you need to nail them confidently. Dry your strawberries well, keep your chocolate smooth, work with the colors while they’re still wet, and let everything set properly in the refrigerator. Follow those four core principles and the rest falls into place beautifully.
This Fourth of July, let these strawberries be the star of your dessert table. They’ll earn you the kind of compliments that follow you into next summer — and probably get you added to the “must bring something” list for every cookout from here on out. Happy Independence Day, and happy dipping.
4th of July Strawberries
Ingredients
Equipment
Method
- Rinse strawberries under cool water then lay them on a clean kitchen towel and pat completely dry. Spread them out and leave at room temperature for at least 30–60 minutes to air-dry fully and come to room temperature. Do not skip this step — any moisture will cause the chocolate to seize or slide off the berry.
- Line two large baking sheets with parchment paper. Set up your piping bags or cut small corners off zip-lock bags. Pour sprinkles into small separate bowls and place everything within arm’s reach. Having your workspace ready before the chocolate is melted is essential — you’ll need to move quickly.
- Place white chocolate chips and coconut oil in a microwave-safe bowl. Microwave in 20-second bursts, stirring well between each interval, until completely smooth and fluid. Alternatively, melt over a double boiler on low heat, stirring constantly. The chocolate should be glossy and pourable — not grainy or clumpy. Keep warm while dipping.
- Hold each strawberry by its green leaves and dip it into the melted white chocolate, swirling to coat about three-quarters of the berry. Lift out and gently shake to let excess chocolate drip off, then place on the parchment-lined baking sheet. Repeat with all strawberries.
- Place the dipped strawberries in the refrigerator for 10–15 minutes until the white chocolate is completely firm. This base coat is essential — it creates a clean white surface for the red and blue decorations and prevents colors from bleeding into each other.
- Melt the red candy melts and blue candy melts in two separate microwave-safe bowls, using the same 20-second burst method, stirring until smooth. Transfer each color into its own piping bag or zip-lock bag and snip a very small tip off the end — a tiny opening gives you much better control for decorating.
- Working on the chilled white-coated strawberries, drizzle red candy melt in zigzag lines across the lower third of each berry. Drizzle blue across the upper third. For a bolder look, fully dip the tip of the berry in blue before drizzling red across the middle. Work on 3–4 berries at a time so the candy melt stays wet for the next step.
- Immediately while the red and blue drizzles are still wet, scatter blue nonpareils, red star sprinkles, and white pearl sprinkles over each berry. Sprinkles must be added before the candy melt sets — once hardened, they won’t stick. Work quickly in small batches for best results.
- Return the fully decorated strawberries to the refrigerator for 15–20 minutes until completely set. Once firm, arrange on a white or navy serving platter or tiered dessert stand. If serving outdoors, place the platter over crushed ice to keep them firm. Serve within 12–24 hours of making for best quality.


